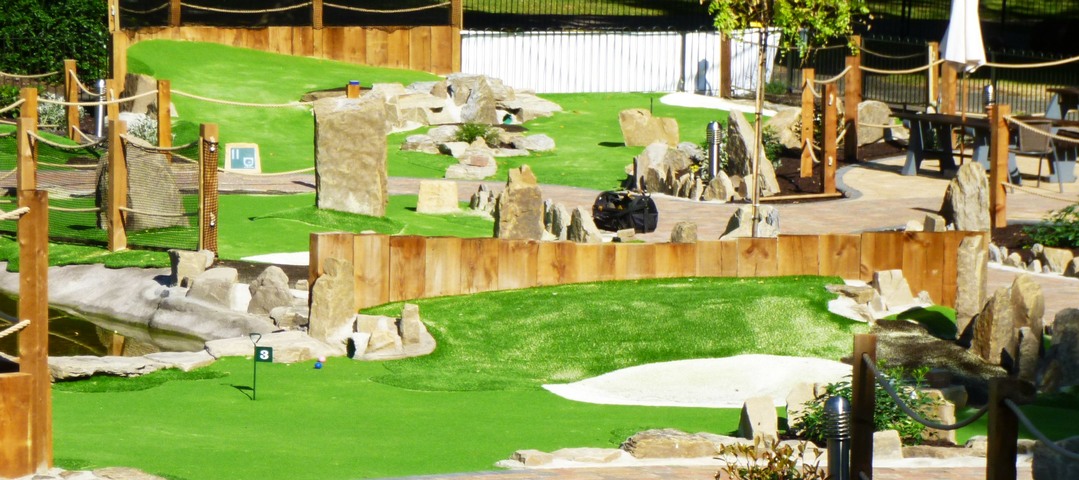
Adventure Golf
Themed Golf
Mini Golf
Compact Mini Golf
Garden Centre Golf
Mini Golf
Adventure Golf
Garden Golf Greens
Artificial Golf Grass
Play Surfaces
Garden Sports Surfaces
Garden lawns


basic overview
Phase 1 - Prep site
Phase 2 - Excavation
Phase 3 - initial grading
Phase 4 - Run Drains and Cable ducts
Phase 5 - Base Construction
Phase 6 - Water Features and Rockwork
Phase 7 - Hole shaping
Phase 8 - Borders and structures
Phase 9 - Pathways and surfacing

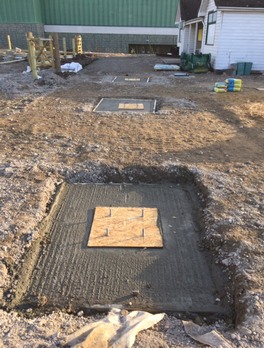
Mini golf construction process
I will just give a quick overview here, of the initial construction process for an outdoor course. This is for a build on land which is presently soil based. Other sites, such as, concrete, tarmac, stone would require a different approach and method.
Focus on Phase 1 -3 For an adventure golf course with lighting and water features there is much to consider. Prior to beginning on the design we will get a topography survey carried out. This allows us to ascertain drainage runs needed, cabling requirements, excavation depths and an approximation of materials required. The order in which the works are carried out becomes vital in the efficiency of the the entire project. As with any construction we start with Site preparation. Security fencing, health and safety details (signage etc) and material compound/ container, all in place. Excavation comes next. All reusable materials such as top soil are either removed and placed to one side or positioned where planting borders are to go. Water features are also shaped at this early stage. Initial site grading is carried out with the sub grade material, if it is of adequate quality to work with. Indeed if it is a wet heavy sub soil (due to poor weather conditions or drainage) on which machinery can get stuck then we will need to bring in a certain amount of material to contour rather than shape what we have on site. The other alternative is to wait until conditions improve! Drainage will be put in after the initial grading and or after site base works. Type of drainage and amount required is to be assessed, based upon the existing site conditions. Most of the time we will run shingle drains with or without land drainage pipe again dependent upon the site. Sometimes there are special requirements for extra drainage such as On our Top golf project, at their course in surrey. On this construction we placed drainage crates underneath the pond to use as a storm drain reservoir for the entire site. Base construction material will become the foundation for the entire area and will therefore need good load bearing qualities due to the works being carried out. Like any building site, the levels will be crucial for everything that is to follow. Once the base material has been shaped and compacted it is time to run the ducting for lighting and water features. This will cause a certain amount of disruption to the area, but is just a case of digging up trench runs and then putting the material back in place. We have run ducting prior to putting in base material but have found it a little easier to do it after. I could write a page on each individual element but wanted to give a brief overview of initial construction process.